Get ready for a fun and eco-friendly project! Create a worm farm at home with your children and watch as they learn about sustainability in a hands-on way. Wriggly worms are fascinating creatures that play a vital role in our ecosystem by breaking down organic matter.
Worms can help reduce organic household waste and your family’s carbon footprint by providing an environmentally friendly additive for healthy garden beds by turning uneaten food and food waste into nutrient-rich soil. They can be set up under a sink, on a verandah, in the garden or inside a shed.
Creating a worm farm is a fun and educational activity for children that teaches them about sustainability, recycling, and the importance of worms in our ecosystem. They will also have the opportunity to care for and observe these interesting creatures.
In this article, we look at:
- How to make a simple farm for worms at home.
- What are earthworms.
- How a worm farm works.
- What worms produce and how to use it.
- Farming tips.
A simple worm farm set up at home:
To make an easy worm farm for children, you will need:
- A large flat container with a lid such as a plastic, wooden or polystyrene box.
- Garden soil or potting mix.
- Worm bedding material such as shredded newspaper, damp cardboard, shredded paper or leaves.
- Leftover food scraps.
- Compost worms.
When making your worm farm, decide which type is right for you! You can build your own, or purchase a classic multi-tray worm farm and composting worms from a garden centre.
Here’s how to make a healthy worm farm that produces castings:
- Start by drilling small holes in the lid of the plastic container to allow for ventilation. Air holes in the lid help the worms to breathe.
- Tear the newspaper or cardboard into small strips and moisten them with water. Place a layer of the damp material at the bottom of the container, followed by a layer of potting mix or soil. This worm bedding will help to make your worms feel at home.
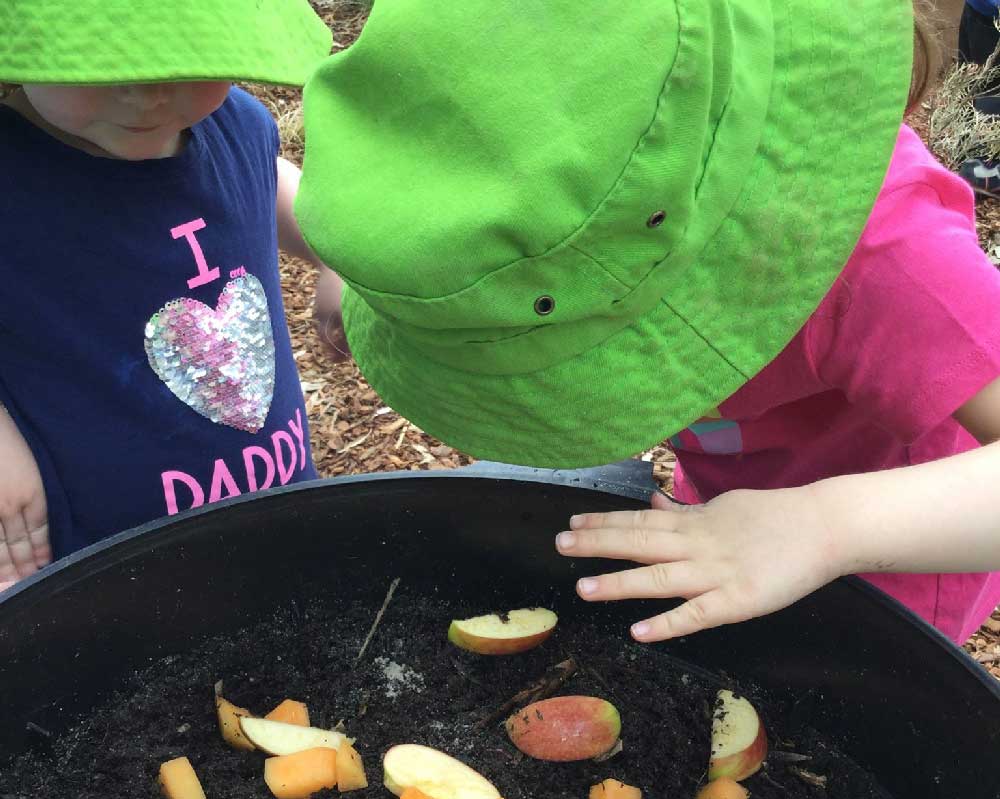
- Next, add a few handfuls of compost or fresh food scraps for the worms to feed on. Your worms will break down this organic material and make nutrient rich compost. Make sure not to overfeed the worms as this can lead to a buildup of harmful gases.
- Now it’s time to add the worms! You can purchase red wriggler worms from a garden store or online. Add them on top of the soil and let them settle in.
- Add a new layer of damp newspaper over the worms. This worm blanket will help maintain a moist environment.
- Place the lid on top of the container and store it in a cool, dark place such as a garage or basement.
- Check on your farm regularly to make sure the soil is moist but not too wet. If it seems dry, you can add a little bit of water to keep the worms happy and healthy.
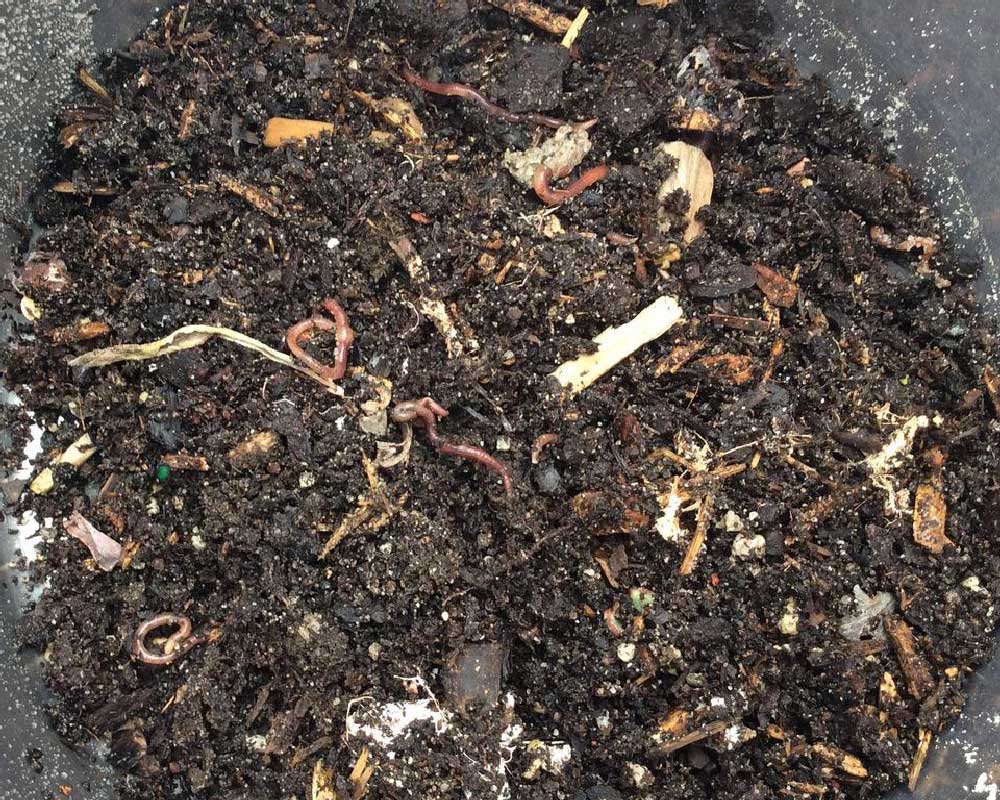
- As the worms start to break down the organic matter in the container, you will notice that they produce nutrient-rich worm castings. These castings can be used as a natural fertiliser for your garden or potted plants.
What are earthworms?
Earthworms are invertebrates: animals with no backbone or skeleton. They are made up of ring-like segments called annuli. These segments help earthworms move through the soil by contracting and expanding, allowing them to navigate and burrow.
Common earth worms play a crucial role in our ecosystem as they are natural recyclers. They feed on organic matter like dead leaves, plant roots, and other decaying material, breaking it down into nutrient-rich soil called castings. This process helps improve soil quality, making it more fertile and healthy for plants to grow.
What do earthworms eat?
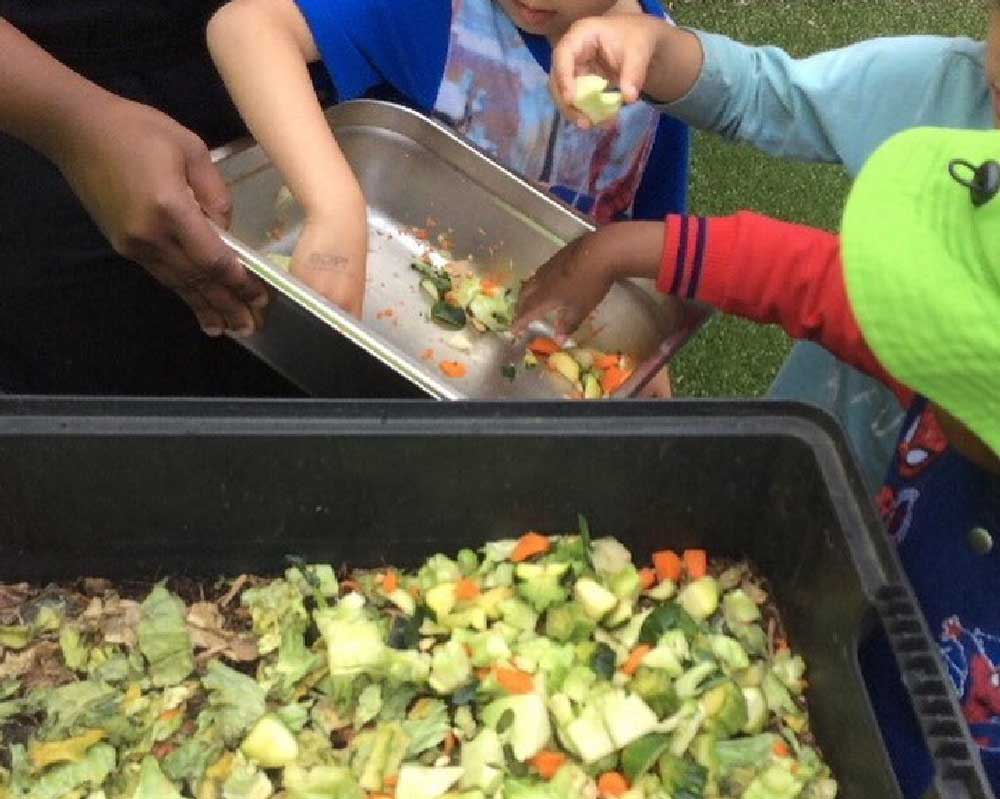
These hungry worms love to eat kitchen scraps:
- Fruit and vegetable scraps like cabbage leaves and carrots.
- Breads and grains like rice.
- Coffee grounds.
- Egg shells.
They also eat plain paper and cardboard.
You shouldn’t feed them:
- Citrus fruits like orange peel
- Onions or garlic.
- Red and white meat including fish.
- Dairy products.
- Fat and grease.
- Bones or animal manure.
- Vacuum cleaner dust (only use if your carpets are natural fibre).
- Garden waste (it is more effective in the compost).
Fun facts about earthworms
- Did you know that Australia has around 750 different worm species of named earthworms?
- Earth worms are herbivores, meaning they primarily eat decomposing plant matter like fruit and vegetable scraps, making them the perfect composters.
- Worms breathe through their skin. They have no lungs.
- They eat scraps that were once living, but will not eat living things including plants.
- They can live up to 6 years.
The Australian Museum has many interesting facts on Australian worms including a worm that’s about 1.5 centremetres wide, which is as as thick as a garden hose.
How a worm farm works:
A healthy worm farm is designed to provide a suitable environment for worms to live, reproduce, and thrive. They are amazing animals. These living fertiliser tubes are packed with good bacteria and enzymes that help our farming systems thrive.
Our slippery soil engineers burrow deep, aerating the soil and creating pathways for water to seep through. They recycle organic waste into a dark, soil-like material.
Worms can consume around 3-4kg of kitchen waste per week, transforming them into beneficial worm castings and liquid fertiliser for your garden. A single earthworm eats up to a third of its body weight in food a day.
What to collect from your worms:
As the worms eat, they will turn the leftover food scraps you feed them into urine and castings. You can add the castings to your garden soil or mix it into potting mix for indoor plants and seedlings.

Worm liquid:
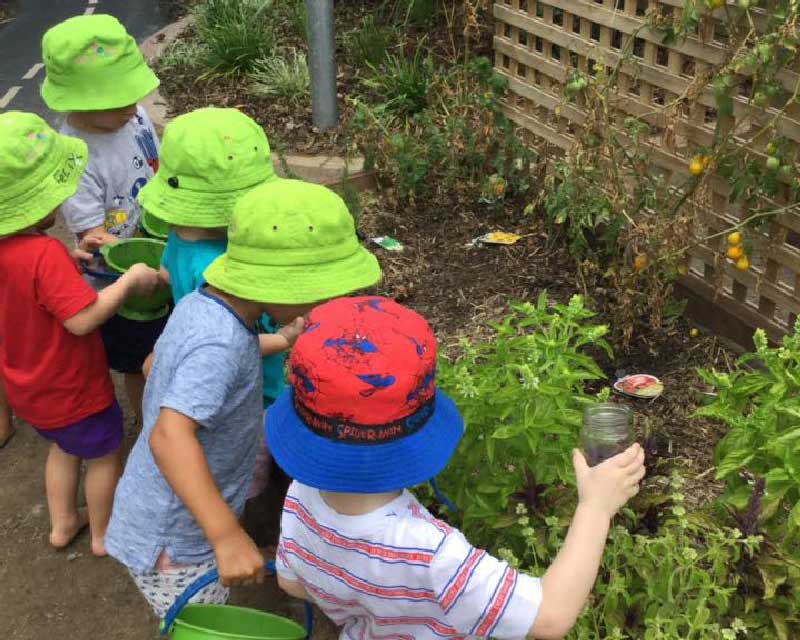
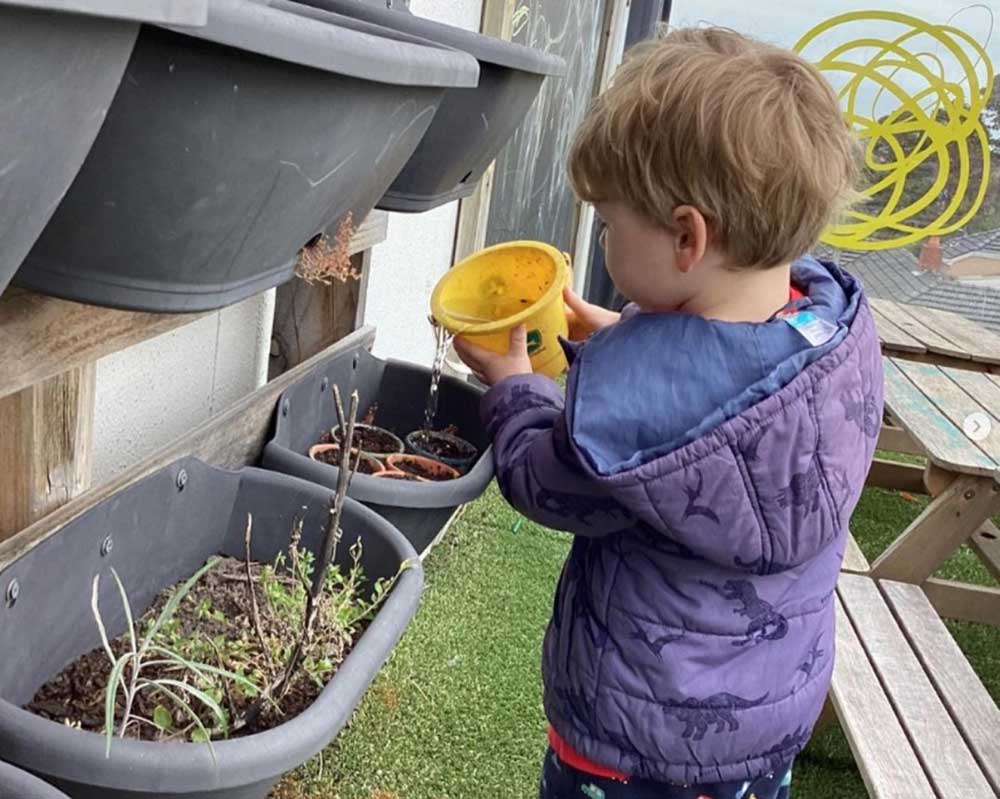
When collecting worm liquid (also known as worm wee or liquid fertiliser) you will need to water it down to make worm tea. Dilute the liquid until it is the colour of tea (about 1 cup of liquid to 10 cups of water). Worm tea is a rich plant food full of beneficial microorganisms and nutrients!
Rain water makes the best worm tea for the garden. It has less chemicals than tap water, such as chlorine, which can kill the beneficial bacteria in worm wee. Your children will also enjoy collecting rain water, creating another sustainable environmentally-friendly project for them to enjoy.
To collect worm liquid, place a second container (with a lid) beneath a simple worm bin. Add drain holes that line up to the bottom of the first container and the top of the second one. To stop the worms from falling through, include a mesh covering, hessian sack or screen between both containers so only the fluid comes out.
Harvesting of castings:
Our simple farm idea (single tier) is designed for the harvesting of castings which makes a powerful fertiliser for any veggie garden. Now we’re going to create some piles or mounds to harvest the castings. You can either use a new tray to put the castings on, or build the piles in the worm bin.
We recommend wearing gloves when digging around in any type of soil or castings.
- Take the lid off and remove the top layer of organic waste where the food scraps go.
- Scoop up the castings and build some piles. You will see some worms wriggling to get out of the sun by burrowing deeper into the mounds.
- Leave it for ten minutes, and avoid leaving the piles in direct sunlight.
- Scoop the top of the piles off and put the castings into a separate container. You may see some worms wriggling away as you remove the top layer.
- Continue to create new piles and repeat steps 2 to 4 until there is only a thin layer of messy castings left and a lot of worms.
- Now, it is time to build your farm again. Don’t forget to add fresh bedding material.
Families might harvest every 2 to 6 months. Harvesting your castings will depend on the amount of worms you have, how deep your container is and how much food you give them. Some commercial worm farms can process up to 2 litres of food scraps per week!
Worm well-being tips:
A healthy worm farm will have little to no smell. At most it should be an earthy odour like that of a forest. If it starts to have a sharp vinegar smell then add some crushed egg shells and wood ash to fix it.
Feed your worms a small amount of food more regularly. Maintain the worm population with a varied diet and never feed them a lot. A healthy ratio of worms to food scraps is about half-a-kilo or a pound of worms to about 250 grams or half-a-pound of organic waste.
If you think you have smelly worms or the smell becomes strong and unpleasant, then you may have rotting food on your hands. Stop feeding them, and some wood ash. Next, stir up the top layer of scraps. You can start feeding them again when the smell goes away.
Keep the air temperature of your worm’s home above 12 degrees Celsius in cold weather. In dry, hot weather, keep the farm moist and shaded. Worm farms can overheat.
Check the soil frequently to make sure it is moist and not attracting ants. If your farm is attracting ants, check the worms’ food supply and reduce sugary food.
Fruit flies are attracted to rotting food. The best way to prevent them is to cover the food scraps with damp paper.
About DIY worm farms for children:
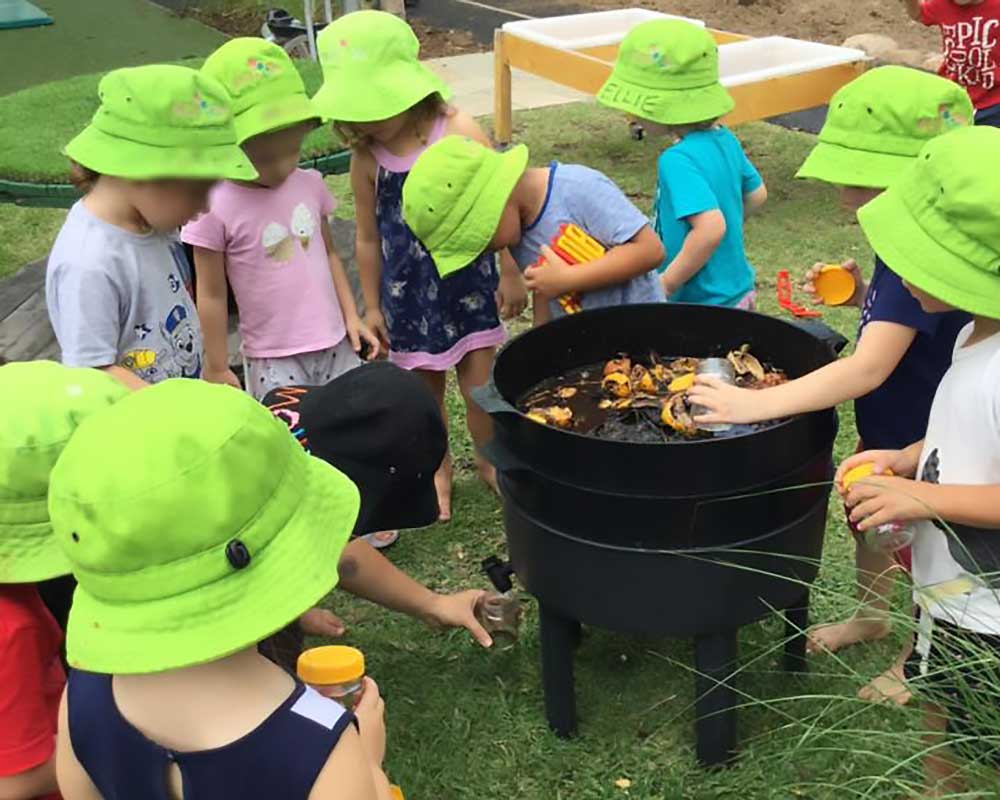
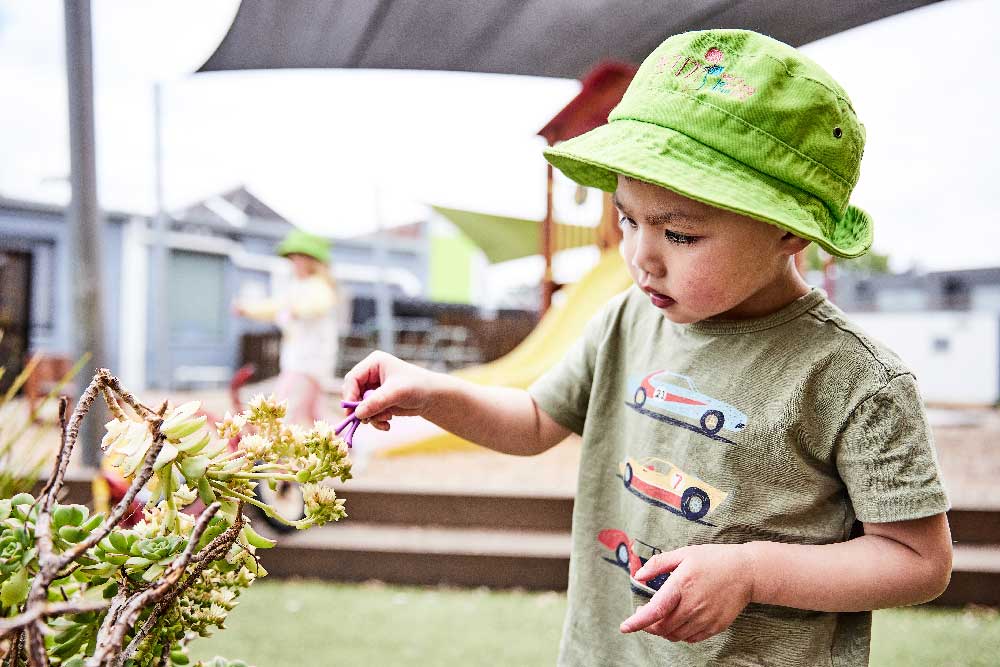
Encourage your children to learn about and observe the worms. They can participate in collecting food waste and adding it to the farm, as well as distributing the worm wee and castings around the garden. They can learn about how worms help to recycle organic matter and create healthy soil.
As your children care for their worm farm, they will develop a sense of responsibility and appreciation for these important creatures. They will also learn about the interconnectedness of all living things in our ecosystem!
Overall, creating a worm farm with your children is a fun and educational way to teach them about sustainability, recycling, and the importance of worms in our ecosystem. Plus, it’s a great hands-on science project that allows children to observe and learn about these fascinating creatures up close.
Gather your materials and start building your own worm farm with your children today! It’s a project that will provide hours of enthralling discoveries and valuable lessons about the natural world.
Inspire your child’s curiosity with Petit Early Learning Journey
At Petit ELJ, we believe learning is an active process and encourage all children to follow their curiosity, to reflect and investigate the world around them. Our qualified educators place the learning focus on the individual child’s experience instead of the outcome.
We provide children with access to recycled materials, open-ended natural resources and loose parts as they move freely between our indoor and outdoor spaces. Are you ready to give your child an early learning journey that’s filled with wonder and awe? Visit your nearest centre today.