Slime-making is a trendy DIY activity taking the world by storm. Since the mid-1970s, this sensory-play experience has obsessed children and adults alike. And if you know how to make slime which is ideal for playing with, it can soothe and help children focus and improve fine motor skills.
There is an art in making the perfect batch of slime that is satisfying to squeeze, roll and fold and fun for adding different colours and textures. It is different to consistency to playdough. Slime needs to be not too sticky and with enough stretch that it won’t snap back and bite.
There are several online homemade slime recipes you can try. However, this sticky, gooey, stretchable substance can quickly go wrong. Even store-bought slime, which can leave a decent hole in your savings, can present questionable properties.
We researched several methods on how to make homemade slime with glue but also slime without glue. The four recipes below should improve your probability of creating a colourful, fun and slippery substance.
Making your own stretchy slime can be budget-friendly. So, when children want to play with homemade slime, you can avoid the shops and make your own super easy batch at home. You can create your own personalised slime with a few simple ingredients already in your pantry.
In this article, we will show you how to make homemade slime step-by-step. So, be ready to make your hands icky and gooey and have fun! It is also a fun and creative activity that preschoolers can join in with your supervision. Below you’ll find step-by-step instructions for:
Recipe #1 – Fluffy slime
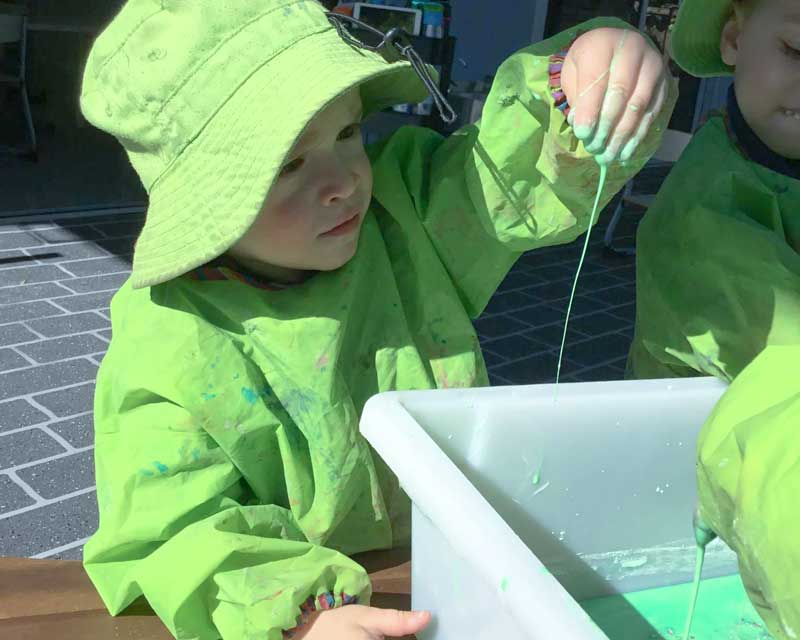
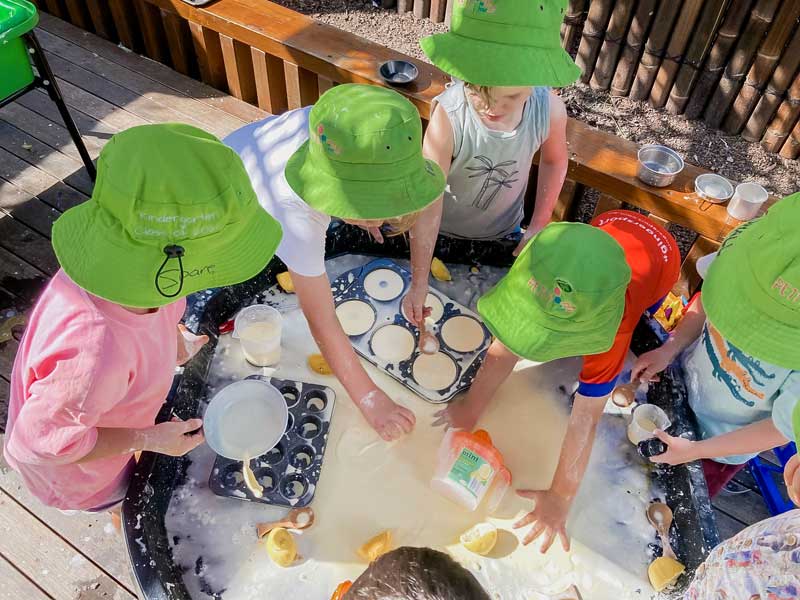
Watch our video for this fluffy fun slime recipe. It comes from our centre at Petit Early Learning Journey Forest Hill, which experimented with making Fluffy Slime for Science Week in 2021. This recipe was popular with our families who could not visit our centres at the time.
Ingredient list
To make our fluffy slime, you will need the following ingredients:
- ½ cup of PVA school glue
- One cup of shaving cream
- ½ teaspoon of bicarbonate soda
- A couple of drops of colouring (any colour you like)
- ¼ cup of water
- One tablespoon of saline or contact lens solution (20ml)
Instructions
Step 1: Gather your materials and ingredients. To mix your solution, you will need a bowl, wooden spoon, measuring cups and spoons for the slime ingredients.
Step 2: Pour into your container half a cup of white glue. You may need your wooden spoon to get it all into the bowl.
Step 3: Add the shaving cream. You can use the same measuring cup you used for the glue.
Step 4: Add the bicarbonate soda.
Step 5: Add one-quarter cup of water.
Step 6: Pour in a couple of drops of food colouring.
Step 7: Give all these ingredients a mix.
Step 8: Then, slowly add a tablespoon of the saline solution as you continue to mix.
Step 9: Keep giving it a good mix until it thickens and stretches.
Step 10: It is time to use your hands! You can knead your slime by pulling and pushing it around until it is flexible and ready to play with.
You can store batches of slime in sealed glass jars such as repurposed coffee bottles, jam or vegemite bottles. The better the seal, or airtight container, the longer your slime will last.
Recipe #2 – Gooey glue-based regular slime
You will find variations of this recipe online that call for different measurements and processes. It provides the basis for many different types of slime, including a unicorn and rainbow slime.
Ingredient list
To make a gooey glue slime, you will need the following ingredients:
- 1 cup of PVA children’s glue
- ½ cup of warm water
- Drops of food colouring (optional)
- 1 teaspoon of baking soda
- 1 teaspoon of contact lens solution (saline)
Instructions
Step 1: In a mixing bowl, pour one cup of glue and add ½ cup of water while stirring with a wooden spoon. Mix well until the glue and water are fully combined.
Step 2: If you want to add colour to the slime, add a few drops of food colouring and stir until the mixture is consistent.
Step 3: Add one teaspoon of baking soda to the mixture. Stir vigorously until properly mixed.
Step 4: Add one teaspoon of saline solution to the glue mixture and stir thoroughly while the slime forms. The contact lens solution is the slime activator that helps the slime to form. Add it slowly and never add more than the recommended amount.
Step 5: When the slime mixture starts coming together, use your hands to knead the mixture until it becomes stretchy and pliable. If the slime is still too sticky, add a little more contact lens solution and knead again. If it’s too hard, add a little water and knead till it becomes pliable once more.
Step 6: Once you’ve achieved the right consistency, store your slime in a sealed container to maintain the right texture. Slime can last for a long time if well-packed and can make a great Christmas stocking stuffer.
Recipe #3 – Edible slime recipe with marshmallows
We tried a fun experiment with this recipe by squishing the marshmallows in our hands and adding some cooking oil and water. While it was absolutely fun, it didn’t create the right slime consistency.
For this edible marshmallow slime recipe, you can purchase a bag of marshmallows or use leftover marshmallow bunnies or eggs from Easter.
This recipe involves microwaving marshmallows. They can quickly become hot and burn. To avoid first aid for children, it should be supervised by an adult.
Ingredient list
You will need to put together the following items for edible slime:
- 2 cups of soft marshmallows, pink, white or both!
- ½ cup of cornflour
- A spoonful of coconut oil. (This can be swapped for vegetable or sunflower oil)
- Food colouring if required
Instructions
Step 1: Take two cups of soft marshmallows and put them into a large microwave-safe bowl.
Step 2 Microwave the marshmallows for about 20 seconds. The timing will depend on your microwave, but you want the marshmallows to be pliable. Use a teaspoon to check their consistency. Don’t use your fingers, as the marshmallows can burn. If the marshmallows don’t have enough give, microwave again in short bursts.
Step 3: Stir your melted marshmallows together until they are almost like a liquid consistency
Step 4 Add a half teaspoon of oil to keep them moist and keep stirring.
Step 5: Slowly add the rest of the oil.
Step 6: Now it is time to add the cornflour. And like the oil, you should add and stir this in slowly. The cornflour will help keep the marshmallow slime from sticking to everything including your fingers.
Step 7: Colour your marshmallow slime or keep it naturally pink or white. Some children love to add sprinkles or chocolate buttons. Be aware the warm marshmallows may melt the buttons and make the slime super messy – but that’s all part of the fun!
Step 8: Once the marshmallows are cool enough to touch, you can use additional cornflour to coat your fingers and your children’s fingers so they help you knead, roll and stretch the edible slime.
To avoid a sticky environment, add extra cornflour to the surface where you’ll be playing with your slime.
Recipe #4 – Goop
Sometimes slime is referred to as goop (or Oobleck as it is called in Bartholomew and the Oobleck a children’s book by Dr Seuss).
And we have a basic slime recipe that is perfect for goop. It is our second suggestion for how to make slime without glue or a saline activator.
Ingredient list
- 1 cup of warm water.
- 2 cups of cornflour.
- Food colouring if desired.
Instructions
Step 1: Place 2 cups of cornflour in a large bowl.
Step 2: Slowly stir in the water.
Step 3: Add food colouring if desired.
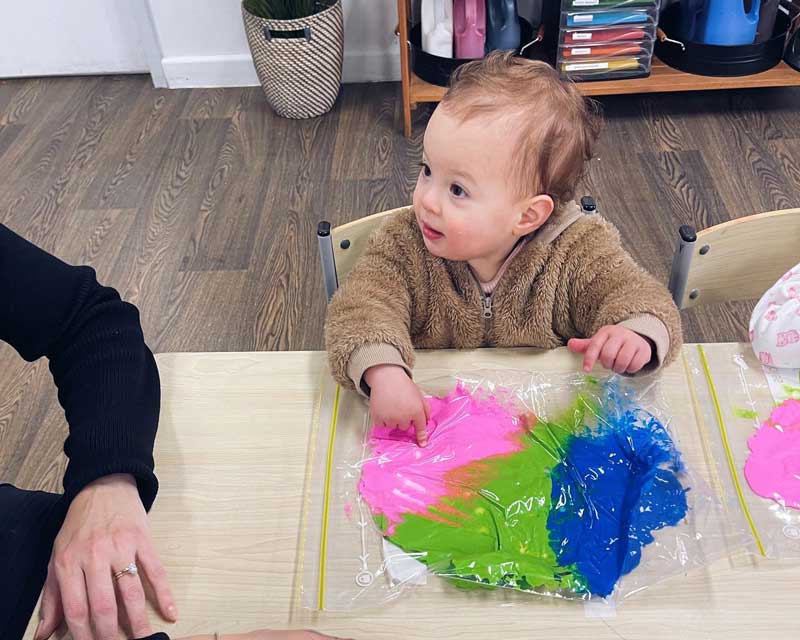
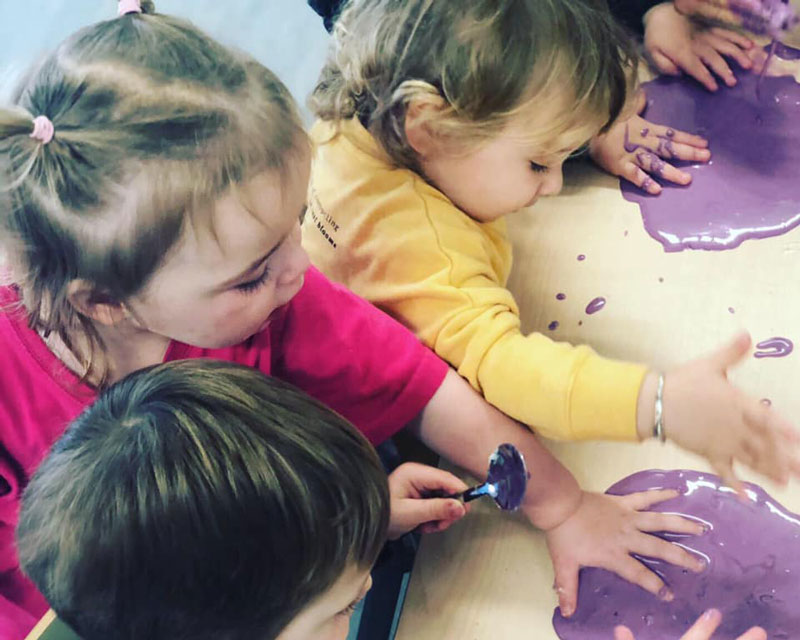
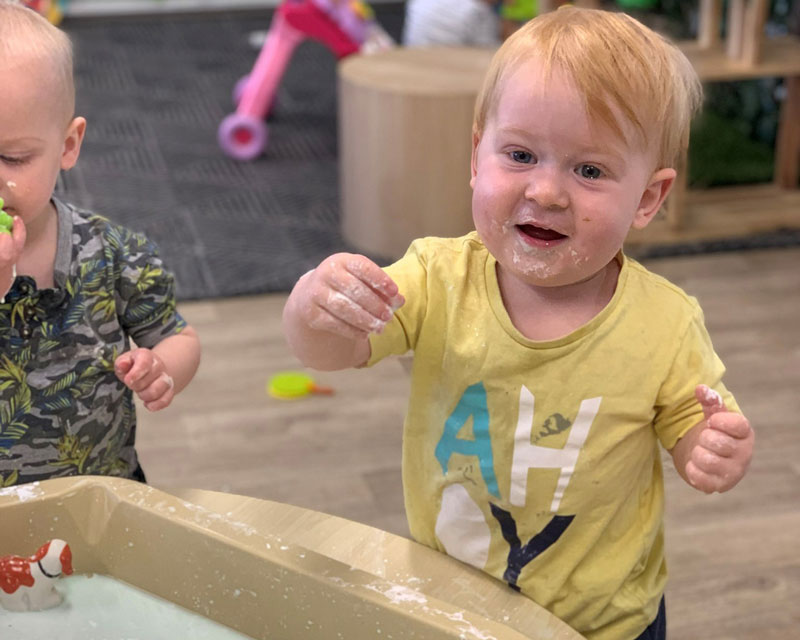
Children love sensory play with slime and goop. And now you know how to make slime without an activator too. Making Slime and is ideal for combining with loose parts play including smelly materials like lemons.
Slime-making is creative and fun, and the above recipes will help you create a slime that is stretchy and fun to play with. By following one of these recipes, you can make slime that is perfect for you or even to share with friends and family.
Get creative with Petit Early Learning Journey
Being creative can mean problem-solving, testing ideas, investigating, discovering, and inventing. At Petit ELJ we believe all children can be creative given the opportunity. Our beliefs and intentionally designed learning environments provoke children’s curiosity and ignite their imaginations.
At our progressive long daycare services, our purposefully-designed environments and our incredible educators inspire children to embrace their unique potential every day. Join us on this joyous journey. Visit your nearest centre to speak with our dedicated and qualified teams.