‘Mummy, Daddy, I’m bored.’ Parents dread these words, especially when you’ve just spent a heap of money on new toys. What do you do? If you want ideas for cheap and fun kids’ projects, this list will fill hours of idle time.
These homemade projects for kids fill hours of playtime for your child. As well, they make use of things you have around the home so they won’t cost an arm or leg. Plus, each activity can be tweaked to create other fun ideas.

Cardboard forts, a building projects for kids
Cardboard forts fulfill hours of endless of fun. This grand homemade project for kids has many possibilities. It’s a secret hiding place, an adventure land or a quiet reading nook. It can be made from one big box or many of different boxes stuck together.
Your child may be happy playing with the possibility that a box holds. But, if they need further inspiration, you can transform the box into something new. Apply some paint, and sticky tape and your box could be a tent, spaceship, castle, igloo or boat.
If you don’t have any cardboard boxes, there are other ways to make an imaginative fort. You could:
- Throw a sheet over the kitchen table
- Build a fort with lots of pillows and sheet on the bed
- Hang a rope across two points with a sheet slung over to make a tent
Aside from being useful storage solutions, boxes can also be turned into televisions, theatres, cars, boats, shop fronts and tables and turtle shells. Put some windows in your box, poke out a few holes or join a couple of boxes together to make a tunnel.

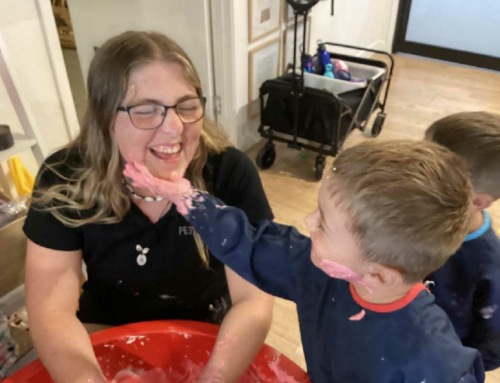
Homemade slime, a science project for kids
For our homemade slime recipe, we’ve decided to avoid activators like borax and glue. While you can make slime with these ingredients, they can be a bit harsh on little hands. Instead, we’ve chosen cornstarch for our projects, an item found in most kitchen cupboards.
This fun science project for kids has three main ingredients:
- Cornstarch
- Water
- Natural food colouring
Show your child how to mix the cornstarch and water. Slowly add water to the cornstarch until it reaches the consistency you like.
This slime is perfect for little hands. Like play-doh, slime makes for fun sensory play. To thicken the slime, add body wash or baby shampoo. For a fluffy version, try shaving cream.

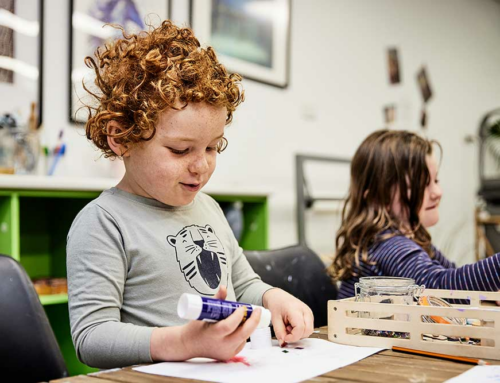
Popsicle craft projects
If you eat popsicles with wooden sticks, you now have an excuse to eat more and recycle. Before you use them, be sure to wash the sticks well. Alternatively, you can usually find them on sale.
Your child will enjoy using popsicles for art projects. Together, you can make a family of stick people. Draw on features like hair, faces and bodies with felt pens, or glue on other materials like straw, wool, eyes, glitter and paper.
There are hundreds of craft projects for popsicle sticks. Some of our favourites include:
- Picture frame
- Pencil holder for pencils, felt pens or crayons
- Square basket/box for trinkets or keys
- Fish ornaments (glue three together in a triable for the fish body)
- Stick boats
- Masks
- Butterfly wands

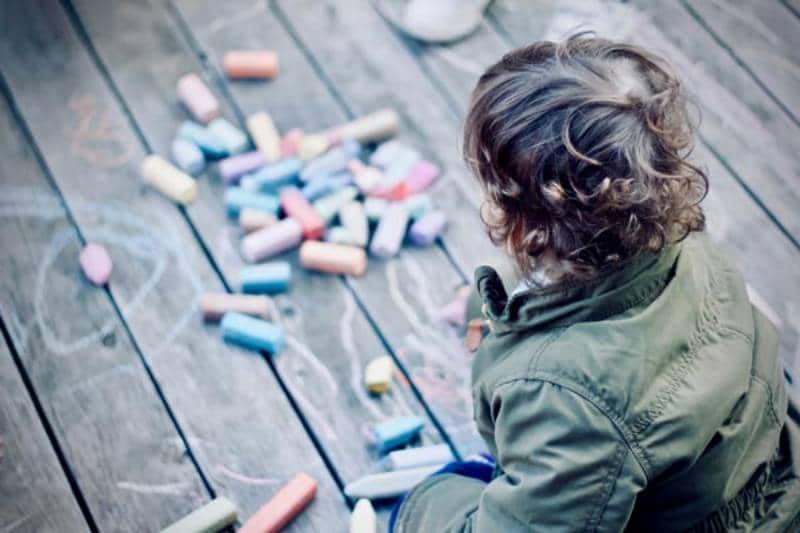
Sidewalk chalk art projects for kids
You don’t need a sidewalk to make chalk creations. Any place with a bit of spare cement or even wooden planks will do for this project, including the front or back patio. If you don’t have any safe areas at home to play, your local park may have paved footpaths where the community welcomes chalk.
Since the rain washes kids’ chalk art projects away, be sure to get some photos of your child’s creations. Instead of making art, you can also use the chalk to create fun games, like:
- Tic tac toe
- Naughts and crosses
- Hangman
- Hopscotch

Forget the theatre, put on your own homemade project
Kids love using their imagination. Sometimes all you need to do is put a basket full of dress-up clothes and props in front of them and then watch them play. If your child needs further encouragement or structured play, how about putting on a play together?
You can be the narrator and read their favourite book out loud. Let your child take the lead and be in charge of this homemade project. Other family members can join in and be characters or an attentive audience. This homemade project is also an ideal play-date project.
Other fun things children can do when putting on a show include:
- Use their toys and teddies as characters
- Include musical instruments
- Dance to music
- Paint masks
- Create (and sell) tickets to the big event

Paper plate frisbees an easy art project
This fun art project also becomes a fun game for kids. There are a few different variations when it comes to sticking the paper plates together. Some people use sticky cellophane paper like that used to protect school books, other people use hot glue. We’ve chosen clear sticky tape.
Start with two paper plates. Cut out the same sized circle in the middle of each plate. Using crayons, paint or felt tip markers, decorate the plates’ bottom side. When the paints decorations are dry, use the tape to stick the plates together with the decorative side facing outward.
The plates should now resemble a flying saucer. Spin the plates to each other as you would throw a frisbee.
Like the popsicle sticks, paper plates are useful items for many different craft projects. You can:
- Use them to make masks
- Stick them on boxes for wheels
- Turn them into tambourines by attaching mini craft bells
- Paint, draw and glue things on them for fun.

A DIY project that makes musical shakers
For this DIY project, you’ll need to raid your kitchen again. You’ll need:
- Rice
- Recycled plastic bottles
If you don’t have any plastic bottles to recycle, you can also make your musical shakers with cardboard tubing, foil and sticky tape. This option allows for the tubing to be decorated.
Put the rice in your container. Leave some room so that the rice can move about. You may want to experiment with different amounts of rice to see how it changes the sound of your shaker. For extra sensory fun, you could collect and experiment with other fillers like:
- Dried peas
- Sand
- Pebbles
- Coins
- Paper clips
- Pasta
- Cereal
Once you’ve made your instruments, put on some music, gather around with other instruments you may have around the home and have some musical shaker fun together.

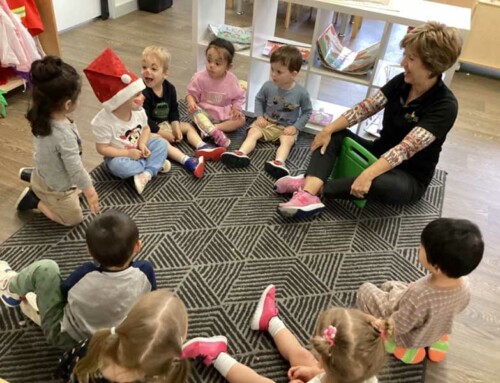
Sensory fun and play-led activities
At Petit ELJ our educators plan a wide range of activities for children to explore. They include both structured and spontaneous kids’ projects that develop a child’s physical, emotional, social, sensory and cognitive areas.
Come and explore your nearest Petit Early Learning Journey centre and see how your child can develop a love for learning to last a lifetime. Book a tour today!