Playdough is a squishy, rubbery, stretchy and often sticky, soft doughy mixture created for children’s play. There are several different homemade playdough recipes that children and adults can make together. What’s more, playing with playdough has many benefits.
Playdough comes in many forms. First, non-toxic or “edible” types are ideal for young children who like to explore with all their senses. Then, there are recipes for children that combine synthetic ingredients like conditioner or shaving cream that are not recommended for consumption.
Store bought varieties of playdough can leave a little dent in your pocket. So we’ve gathered a few DIY playdough recipes that require ingredients that most households already use at home. Our easy to make playdough saves money and creates fun cooking experiences for children.
Keep reading to discover:
- The differences between playdough, Play-Doh and plasticine
- The benefits of playdough
- Three easy homemade playdough recipes
- Homemade playdough recipe tips
The differences between playdough, Play-Doh and plasticine
Children love to play with this mouldable clay-like material, sometimes written as two words, play dough. Playdough is a generic term for dough that children can play with, and different recipes call for varying ingredients and measurements that allow for it to be eaten (in moderation), cooked or hardened.
On the other hand, Play-Doh is a commercialised modelling compound now sold by Hasbro. Initially, Kutol marketed it as a wallpaper cleaner and then repurposed it in the 1950s into a child’s educational toy.
Hasbro usually recommends their Play-Doh for children two years and up, and it is sold in tubs separated into bright colours. Additional store-bought toys can squeeze or mould it into different forms, like spaghetti.
Playdough is different from plasticine, although the texture and benefits overlap like Play-Doh. Plasticine is also a brand of modelling clay usually made from synthetic ingredients and recommended for children three years and up. It is often used for art and sold as a non-drying clay.
Most playdough recipes call for flour, salt, water, oil, food colouring and other ingredients. Some homemade recipes include elements that are not digestible. The recipes we provide below are suitable for all children and while they are not meant to be eaten for a snack or meal, the ingredients are non-toxic.
Always check whether store bought and homemade playdough ingredients are suitable for your child before using them at home, especially if your child has allergies.
What are the benefits of playdough in early childhood?
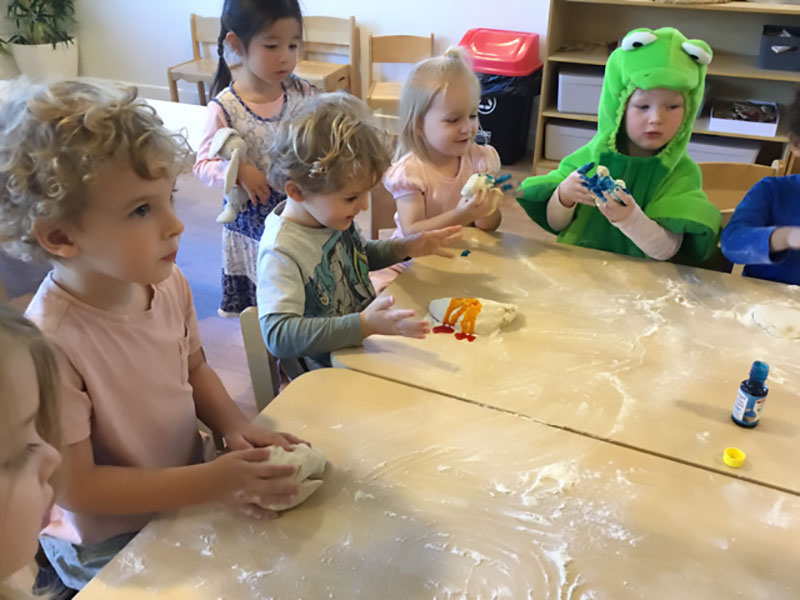
These tubs of colourful fun have enormous development and learning benefits for children. When making your own mixture at home, the fun (and advantages) begins with creating the dough. Turn your dough making into a cooking experience to see what blends well together.
Playdough (or clay):
- Strengthens fine motor skills. Fine motor skills refer to the movement and control of small muscle groups like those in our hands. For example, when children knead playdough they are developing the fine motor skills in their fingers which will assist with using scissors and pre-writing skills.
- Supports hand-eye coordination. As children use their hands to mould the dough they’re developing hand-eye coordination, a cognitive skill that coordinates information received through the eyes with hand movement.
- Encourages sensory play. While it is often thought of as tactile play (touch and texture), playdough can stimulate other senses such as smell, taste, sight and hearing. Our classic recipe with scents has all the senses covered.
- Boosts imagination and creativity. Children can let their imaginations loose with a handful of play dough, turning a doughy clump into a dog, dinner, person, tree, porcupine, car, house, table, rainbow, caterpillar, alien, farm, spaceship or face.
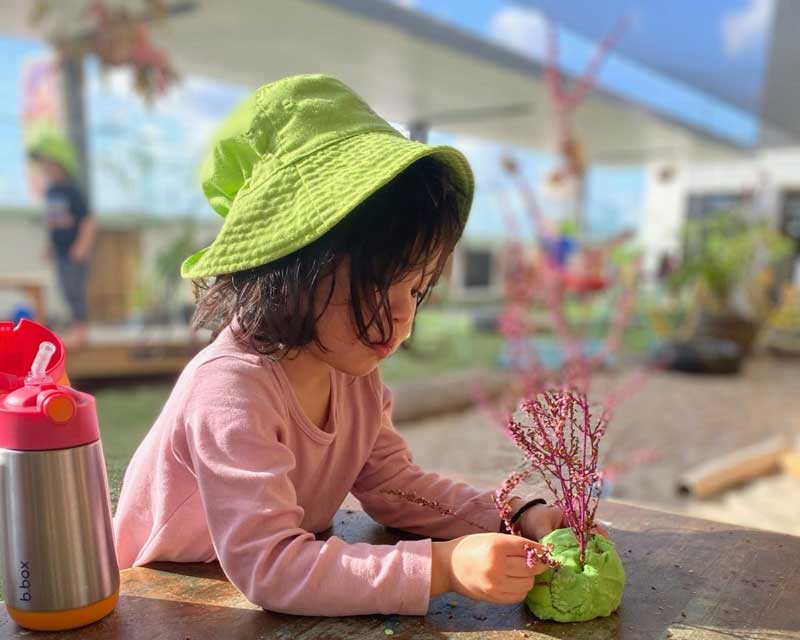
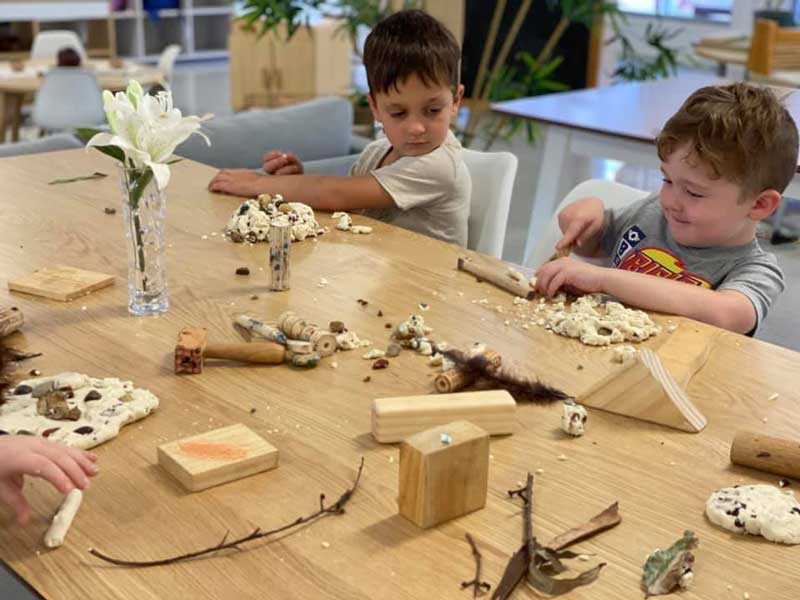
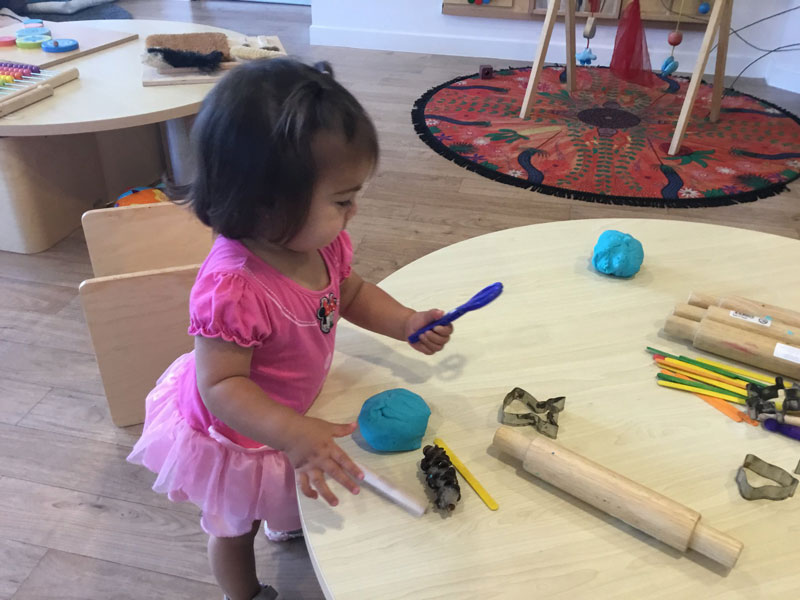
- Increases curiosity and knowledge. It is amazing how much fun children can have when improvising and combining playdough with other things such as natural materials like feathers, leaves, sticks and seeds or loose parts.
- Creates a calming experience. The motion of squishing, squashing, rubbing, rolling, cutting, pulling and squeezing this soft pliable mixture is therapeutic. It can help relieve stress and provide hours of soothing fun on its own or as part of a bigger playtime experience.
- Engages children in learning. Because it is so fun to play with, playdough makes learning about colours, numbers, letters, shapes and different textures fun too. It is a useful tool for numeracy, literacy
- Promotes STEM. Playing with playdough stimulates children’s creativity and curiosity, it supports the development of fine motor skills and hand-eye coordination — all essential skills for STEM learning. Plus, making playdough is a chemistry STEM experience.
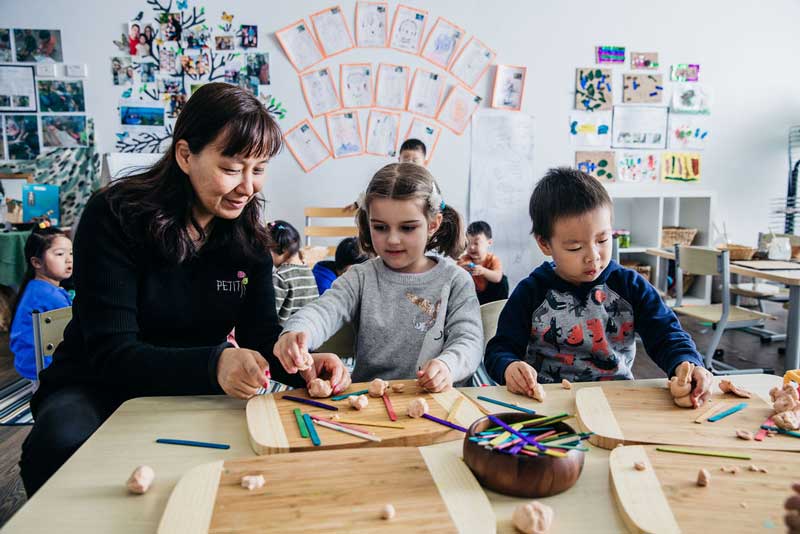
- Fosters social skills. When used in group play, it can facilitate the cooperation and sharing of different coloured tubs and all the extra tools and resources included in the experience. Whether children are focused on individual or collaborative projects, playdough can bring them together to converse and practise social skills.
- Inspires playtime. Playdough is enchanting because it can be moulded into many things. It can be rolled, poked and flattened or used like putty to stick things together. It holds children’s and adults’ attention leading to hours of fun play-based learning.
How to make homemade playdough: 3 Easy recipes
There are several different recipes for making playdough that call for wet and dry wet ingredients. Choosing the one that is right for you and your children will depend on the purpose of the playdough (e.g. whether you want to reuse it later or let it harden) and if you want to make cooked or uncooked playdough.
Our homemade playdough recipes are inspired by a recipe from Petit Early Learning Journey Elderslie. To make their traditional mixture, you will need:
1. Traditional cooked playdough recipe
- 1 cup of plain flour
- 1/2 cup salt
- 2 tbsp cream of tartar
- 1 tbsp olive oil
- 1 cup of water
- 2-3 drops of food colouring (or leave it plain)
Instructions:
Combine all the ingredients into a saucepan. Stir well over a gentle heat* until everything is mixed in and the dough is beginning to thicken and cling to your spoon. The dough should be soft and stretchable when you remove it from the heat. Let it cool before storing it in a sealable, airtight container in the fridge.
2. Classic no-cook playdough
The traditional no-cook playdough has almost the same ingredients as our first recipe. The main differences are the measurements and the water’s temperature, which should be boiling hot water. For this recipe, we’ve also changed the type of oil, although you can still use olive oil.
- 2 cups of flour (plain)
- 1/2 cup salt
- 2 tbsp cream of tartar
- 2 tbsp vegetable oil
- 1 to 1 1/2 cups of boiling warm water*
- 3-4 drops of your choice of food colouring (optional)
Instructions:
Place all the dry ingredients into a bowl and stir well making a well in the centre. Mix the oil and colour of your choice and pour into the centre. Add 1 cup of boiling water to start then stir. When the dough is soft and pliable, roll it into a ball and store in an air-tight container.
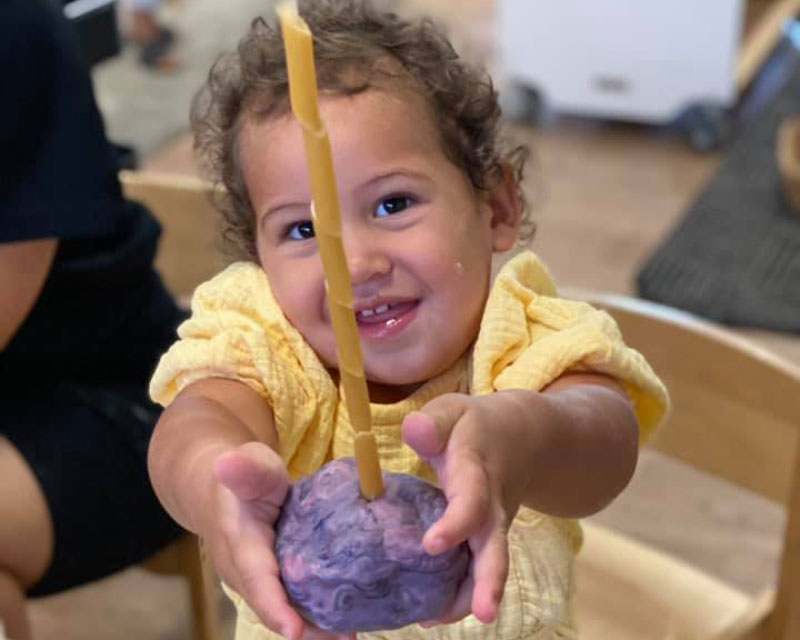
3. Scented doughs for extra sensory play (no-cook playdough recipe)
Add extra sensory delights to your DIY playdough by adding natural herbal teas, suitable for children who like to still eat a little dough (instead of using aromatherapy essential oils).
- 2 cups of flour (plain)
- 1/2 cup salt
- 2 tbsp cream of tartar
- 2 tbsp vegetable oil
- 1/2-1 cup of hot scented water*
- 3 drops of natural food dye (optional)
Instructions:
Make the scented water by adding 2-3 herbal tea bags to your boiling hot water. This works well with lemon, passionfruit, strawberry and rose herbal teas. A no-cook gingerbread dough with ginger and cinnamon is also a children’s favourite for its taste and scent.
Create your scented doughs by following the instructions for our classic no-cook playdough.
Homemade playdough recipe tips
- Cream of tartar helps to give your playdough that perfect body and texture. Yes, you can make playdough without it but your mixture will have more elasticity if you leave it in.
- Fresh playdough is basically salt dough. The cup of salt is there to help preserve it and to keep the mould out. Some recipes call for a salt mixture of course and refined salts, although plain old table salt works just as well.
- Too much flour may make your mixture into crumbly playdough. Add a little extra water, like a tablespoon, knead your dough and give it time to bounce back.
- Is your mixture a little too wet? Allow it to sit for a few minutes. Children may love to sample this sticky playdough with their fingers.* Encourage them to add a quarter cup of flour or less at a time if you feel it should be firmer.
- When adding the colouring after you have mixed it, knead and separate your batch of playdough into several balls. Then, create a well in the middle of each ball of playdough for 1-2 drops of colour.
- A light use of food colouring will take less time to stop staining hands and surfaces. Bright colours may keep staining after several uses.
- Experiment and improvise but understand what you are adding especially where allergies and non-edible dough are concerned. Some recipes add cocoa, others leave the herbal tea leaves in for extra texture as well as prolonged scent.
- The shelf-life of your playdough will depend on your ingredients, how it is stored and how often it is used. Most homemade dough will last from one to three months. If your children play with it regularly you may want to replace it sooner with a fresh batch.
- You can use almost any type of cooking oil, although you may want to avoid peanut oils because of allergies. If your playdough dries out you could try revitalising it by adding more oil.
- *Any recipe calling for heated water or ingredients requires adult supervision. You can try warm tap water rather than hot for the second and third recipes but it may require vigorous stirring. Once you pour the hot water in, remember that the heat will transfer to the mixture.
Finally, you may be tempted to purchase several toys made for playdough. Items you have at home such as cookie cutters, a rolling pin, a garlic press and a wooden meat mallet also make brilliant playdough accessories. Combine these with a selection of natural materials and loose parts for hours of creative fun.
Embrace play-based learning with Petit Early Learning Journey
One of the joys of learning at Petit ELJ is our emphasis on open-ended play, nurturing spontaneity and creativity while building on children’s ideas and interests. We encourage a child-led holistic approach where children engage in opportunities and experiences supported by Educators who value their choice.
STEM, cooking experiences, making and experimenting with playdough, natural materials and loose parts are just a few of the play and learning adventures your child can explore. To discover more about our curriculum and learning programs, contact your nearest Petit ELJ centre.